How to Look Better on Video Calls: Lighting, Angle, and Expression Science
The average professional now spends multiple hours each week on video calls — and in every one of those calls, their appearance is being processed and judged in real time. The problem is that the default setup for most people (laptop camera below eye level, overhead ceiling light, built-in wide-angle lens) is one of the most consistently unflattering ways to capture a human face that exists. Each of these variables has a specific, well-understood fix rooted in the same science that governs professional portrait photography. This guide covers each one.
Why the Default Laptop Setup Makes You Look Worse
Built-in laptop cameras are positioned at the bottom edge of the screen — typically 15–30 cm below eye level when the laptop sits on a desk. This creates an upward camera angle: the lens looks up at the underside of your chin and nose, shows your nostrils, elongates the neck, and collapses the jaw-to-neck boundary that defines facial structure. It is the angle that adds the most apparent age and the least visual authority.
Overhead office and room lighting compounds the problem. Light coming from directly above creates downward-pointing shadows that deepen the under-eye area, flatten the cheekbones, and remove the lateral facial definition that flattering portrait lighting creates. These are the same shadows that make faces look tired, older, and unwell — and they are the default condition for most indoor spaces.
Finally, built-in laptop cameras use wide-angle lenses. At laptop-to-face distance — roughly 50–70 cm — these lenses produce the same geometric distortion as a close-range selfie: the nose appears larger, the facial proportions are distorted, and the image lacks the natural perspective of how a face looks to another person standing or sitting across from you.
The combination of low camera + overhead light + wide-angle lens is the trifecta of unflattering video. Fix the camera height first — it has the highest single-variable impact.
Lighting: The Single Highest-Impact Variable
Of all the variables you can control, lighting produces the largest improvement per unit of effort. The principle is simple: get the primary light source in front of your face at roughly eye level, not above it. When light comes from in front of you, it wraps around the facial contours evenly, fills the under-eye shadows, and produces the 'even, flattering' look associated with professional photography and broadcast media.
The best available light source for most people is a window facing you. Soft, diffused daylight (overcast sky or a window not in direct sun) is ideal — it produces even, skin-flattering illumination without harsh highlights or deep shadows. Position yourself so the window is in front of you, not to the side and certainly not behind you. A window behind you backlights your silhouette and makes your face appear dark regardless of other setup variables.
If natural window light is not available at the time of your calls, a ring light or small LED panel positioned at eye level approximately 50–70 cm from your face replicates this effect. Set the colour temperature to 5500K (daylight white) for the most natural rendering of skin tones on camera. Warmer temperatures (below 4000K) produce an orange cast; cooler temperatures (above 6500K) produce a blue-grey cast that reads as clinical or unwell.
Camera Angle: The Simplest and Most Overlooked Fix
Raise your camera to slightly above eye level. Your eyes should sit approximately one third down from the top of the frame. This achieves three things simultaneously: the natural viewing angle (the same angle at which another person would see your face if you were sitting across from them), maintained jaw definition (a slight downward chin angle tightens the jaw-to-neck boundary), and no upward nostril view.
The fix takes two minutes: stack books, a box, or any stable object under your laptop until the camera is at the correct height. Alternatively, invest in an external webcam — a 1080p or 4K external camera on a small tripod or monitor mount gives you full control over camera position and typically has better optics than a built-in laptop camera.
On a phone or tablet: hold the device above eye level and tilt it slightly downward toward your face. This is counterintuitive — most people hold phones below the face or at chest height — but it produces the same flattering angle as a correctly positioned laptop camera.
Camera height above eye level is the fastest zero-cost fix available. Stack anything under your laptop right now and check the difference — it is immediate and significant.
Advertisement
Distance, Framing, and Background
Camera distance affects both facial proportion accuracy and communication effectiveness. Too close — less than 50 cm — produces the same wide-angle nose distortion as a selfie. Too far — more than 150 cm — makes your expressions unreadable, reducing the emotional connection that makes video communication work. The ideal framing shows your head and shoulders, with a few centimetres of space above the head.
Background matters more than most people acknowledge. A window behind you creates backlighting that makes your face appear dark regardless of how good your front lighting is. A cluttered, busy background divides the viewer's attention. A plain wall, a bookshelf, or a clean office background at 1–2 metres behind you directs attention to your face rather than competing with it.
Blurred virtual backgrounds solve the background problem but introduce a new one: they create an uncanny edge around the hair and shoulders that the eye finds slightly distracting. A real physical background, even simple, produces a more natural and professional result than most virtual backgrounds.
Expression and the Video-Specific Compression Problem
Video conferencing platforms compress video streams to reduce bandwidth. Zoom, Microsoft Teams, and Google Meet all use lossy compression that reduces image quality, particularly in subtle detail. The orbicularis oculi engagement — the eye narrowing and crinkle that distinguishes a genuine Duchenne smile from a posed one — is precisely the type of subtle facial detail that compression most aggressively removes.
This has a practical implication: on video calls, you need to slightly exaggerate your eye engagement to communicate the same level of warmth that reads as natural in person or in an uncompressed still photo. What feels slightly overdone in a mirror reads as normal genuine warmth on a compressed video stream. Holding your eye engagement a fraction longer than feels natural compensates for what compression removes.
Eye contact on video is also counter-intuitive. Looking at the other person's face on screen — which feels like eye contact — actually directs your gaze below the camera lens, which reads to the other person as you looking downward. True eye contact on video requires looking directly at the camera lens, not at the screen. This takes practice but produces a visibly different quality of presence on the other person's end.
Look at the camera lens, not at the person's face on screen. It feels unnatural but is what reads as direct eye contact on the other person's end.
Testing Your Setup Objectively Before Important Calls
Before any important video call — a job interview, a client pitch, a first meeting — spend two minutes verifying your setup with a still photo. Set up everything as you would for the call: camera height, lighting, background, distance. Then take a single photo from that setup and review it.
Upload that photo to Smile Tracker to test whether your expression reads as genuine under those conditions. Video compression will reduce the quality of what the other person sees, but if your smile scores strongly in the still photo, it will read as warm and genuine after compression. A low score on eye engagement signals that your lighting or angle may be flattening your expression — adjusting the light position often resolves this.
Run the same photo through Guess My Age. Harsh overhead lighting and unflattering camera angles can add significant perceived years to your apparent age. A well-set-up photo — frontal light at eye level, camera slightly above eye level, correct framing — typically produces a notably younger apparent age reading than a poorly set up one. If the results surprise you either way, adjust and retest before the call.
Frequently Asked Questions
Why do I look bad on video calls?
The most common causes are: (1) camera below eye level — creates an upward angle that shows nostrils and collapses jaw definition; (2) overhead-only lighting — creates downward shadows that deepen under-eye areas and flatten facial structure; (3) wide-angle lens distortion at close distance — same effect as a close-up selfie. Fixing camera height is the highest-impact single change.
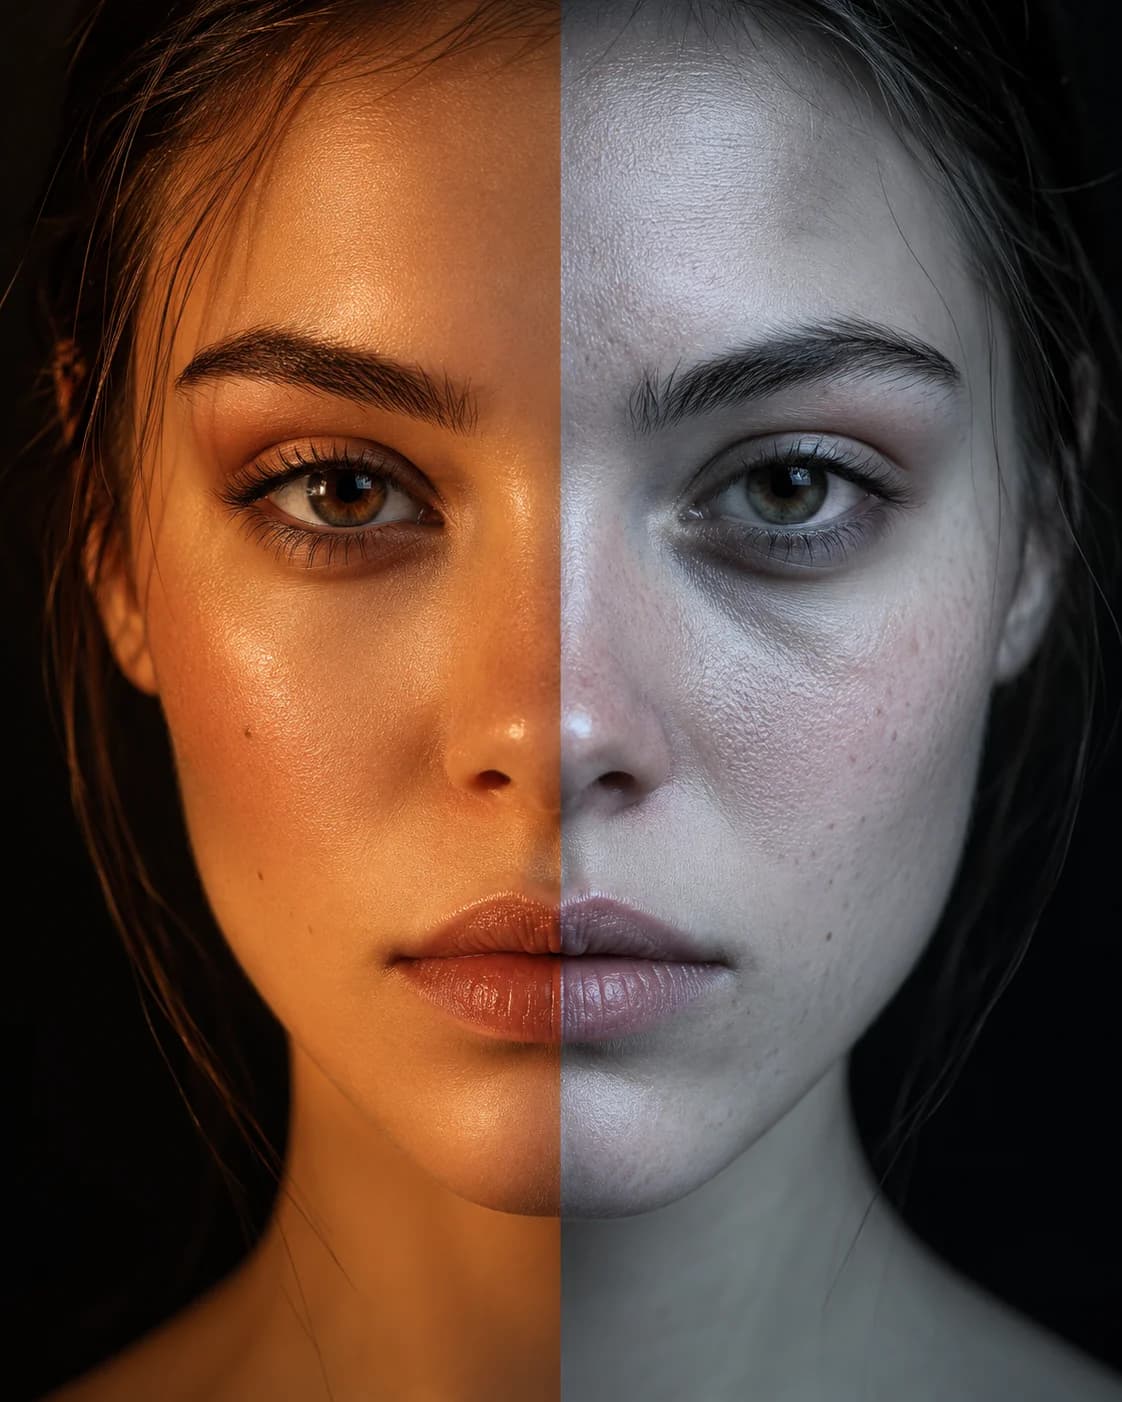
What is the best lighting for video calls?
A window facing you, providing diffused natural daylight, is the best available light for most people. If natural light is unavailable, a ring light or LED panel at eye level approximately 50–70 cm from your face replicates this effect. The critical principle is frontal light at eye level — not overhead, not behind you, not from a sharp side angle. Set artificial light to 5500K colour temperature for natural skin tone rendering.
Where should my camera be positioned for video calls?
The camera should be at or slightly above eye level. Your eyes should sit approximately one third from the top of the frame. Raise your laptop using books or a stand, or use an external webcam on a tripod mount. This eliminates the upward nostril angle, maintains jaw definition, and replicates the natural viewing angle of face-to-face conversation.
How do I look more confident on video calls?
Three evidence-based adjustments: (1) camera at eye level — looking into a camera at your level rather than upward produces more authoritative framing; (2) direct camera eye contact — look at the lens during key moments rather than at the screen; (3) genuine smile on greeting — a Duchenne smile at the start of a call sets a warm, trustworthy baseline that persists through the interaction. Physical setup affects perceived confidence as much as behaviour does.
Does my face look different on video calls than in real life?
Yes — for two reasons. First, the default setup (camera below eye level, overhead light, wide-angle lens) creates a systematically unflattering angle that does not represent how your face looks to another person. Second, seeing yourself on screen while simultaneously being in conversation activates the evaluation-threat response that produces a nervous, less genuine expression. Both are fixable: the first with setup changes, the second with the physiological sigh and memory anchoring techniques.
Lena Whitmore
Science Writer · Facial Analysis & Appearance Psychology
Lena covers the science of smiles, facial aging, and AI-powered biometrics. She writes evidence-based guides grounded in peer-reviewed research, with a focus on making appearance science accessible and actionable. All tools on Smile Tracker run locally in your browser — your photo is never uploaded anywhere.
Put it to the test
See your results with AI
Upload a photo and get your personalized Smile Score, smile type, and eye engagement reading — free, private, instant.
Analyze My Smile Free →Advertisement
Sources
- Bailenson, J.N. (2021) — Nonverbal overload: A theoretical argument for the causes of Zoom fatigue. Technology, Mind, and Behavior
- Zoom Foundation (2021) — Study on camera-angle effects during video conferencing and self-perception
- Mita, T.H., Dermer, M. & Knight, J. (1977) — Reversed facial images and the mere-exposure hypothesis. Journal of Personality and Social Psychology
- Google MediaPipe Face Landmarker — Real-time facial landmark detection