How to Smile Naturally in Photos: 7 Techniques That Actually Work
Learning how to smile naturally in photos is a skill — not a trait you either have or don't. If you look great in the mirror but stiff and awkward on camera, the problem is not your face. It is how your brain behaves differently when it knows it is being observed. Here are seven techniques that directly fix the neurological and physical causes of an unnatural smile on camera.
Why Smiling on Camera Looks Different
When you smile naturally in conversation, your limbic system is driving the expression — genuine emotion activates both the mouth muscles and the eye muscles simultaneously. When a camera appears, something shifts: your brain switches to performance mode and the voluntary motor cortex takes over. The result is a technically correct smile that is missing the involuntary eye engagement that makes it look real.
This is not a problem with how you look. It's a hardwired response to being observed. Even professional models spend years learning to override this response. Understanding the mechanism is the first step to fixing it — because the solution is not to 'try harder to smile' but to bypass the performance response entirely.
Each of the following techniques works by either triggering the limbic pathway directly (memory technique) or removing the physical barriers — tension, angle, lighting — that make a genuine expression harder to capture.
Think First, Smile Second
The most effective technique for how to smile naturally in photos is the memory method. Two to three seconds before the photo is taken, recall a specific, vivid happy memory — not a vague instruction to think positively, but a concrete moment: a conversation that made you laugh, something your pet did, a moment of unexpected joy. The specificity matters.
When you access a genuine emotional memory, the limbic system activates and triggers the orbicularis oculi — the eye muscle — automatically. Your cheeks rise, your eyes narrow slightly, and the photo captures an expression that reads as genuinely alive. This is the Duchenne smile effect, triggered deliberately through memory rather than performance.
The gap between 'memory triggered' and 'photo taken' should be about two seconds — long enough for the expression to fully build but before it begins to fade. If you're taking the photo yourself, count silently to two after pulling up the memory, then shoot.
Choose your go-to memory in advance — you won't have time to search for one in the moment.
Practice the Soft Eye Squint
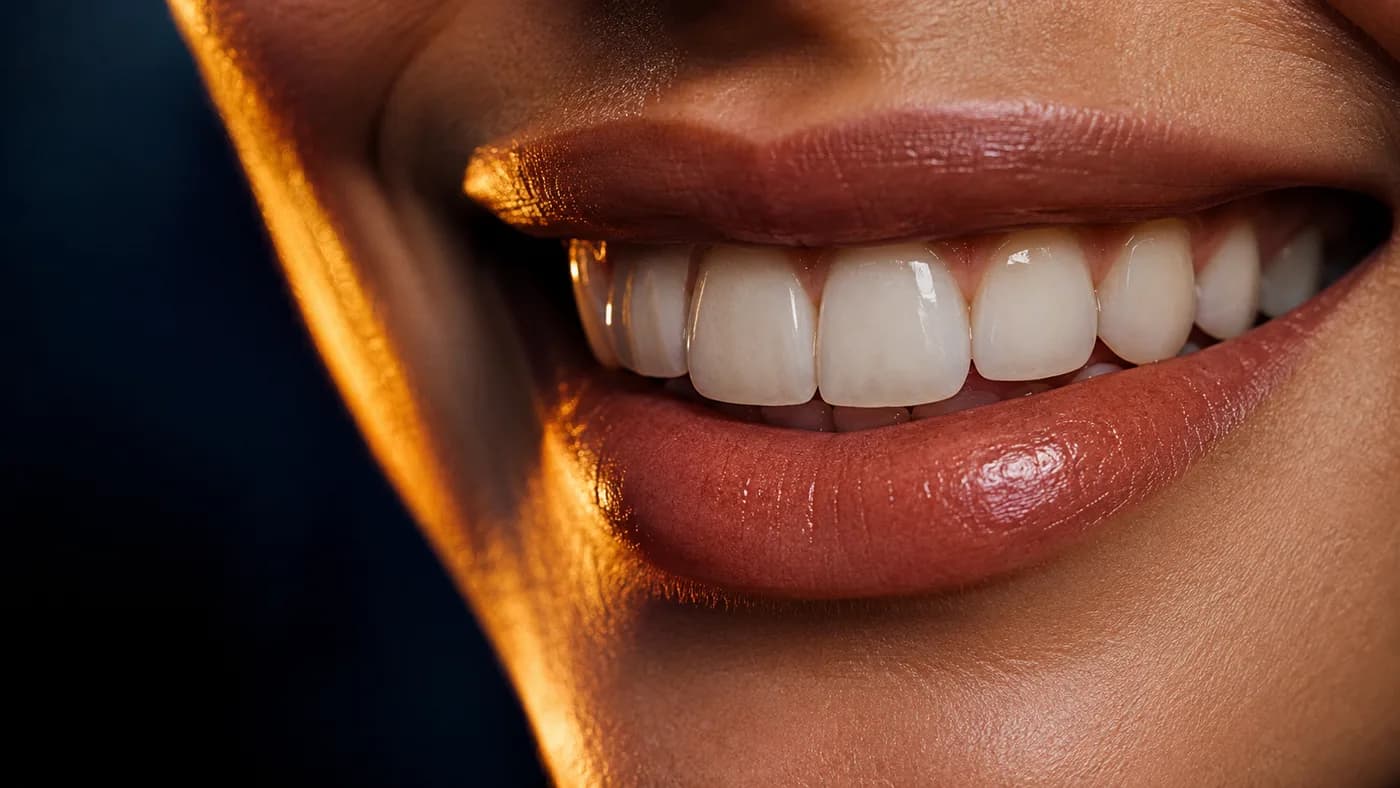
The single biggest reason people look awkward in photos is wide, flat eyes — neutral eye engagement that makes even a wide smile look posed. The soft eye squint (sometimes called the 'squinch,' a term popularized by portrait photographer Peter Hurley) is the technique of gently narrowing the lower eyelids as you smile.
This is not a forced expression or a blink — it's a subtle tightening of the lower eyelid that raises the cheeks and creates the characteristic warmth of a genuine Duchenne smile. In the mirror, practice raising your cheekbones independently of your mouth. At first the movements will feel disconnected. Over time, they start to work together.
The payoff is significant: adding orbicularis oculi engagement to any smile changes how genuine it reads, even if the smile itself hasn't changed at all. It's the difference between a photo where you look pleasant and one where you look genuinely happy.
“The squinch is not a squint. A squint is closing both lids equally. The squinch is raising the lower lid — and it transforms how confident and alive you look in every photo.”
Advertisement
Chin Forward, Not Up
Posture affects your face in photos more than most people realize. The most common mistake is tilting the chin up — which feels confident but often creates unflattering neck shadows and a heavier-looking jawline. Instead, bring the chin slightly forward (toward the camera) and very slightly down.
This position stretches the skin under the jaw naturally, opens the eye area, and positions the face so that smile muscles can move freely. It feels slightly awkward in person but consistently produces a cleaner, more natural result in photos.
For AI facial analysis: this position keeps the face directly front-facing at eye level, which gives MediaPipe the cleanest view of all 478 landmarks and produces the most accurate blendshape readings.
Imagine a string attached to the top of your head pulling you gently upright — then bring chin slightly forward. Shoulders back, natural posture.
Exhale Before You Smile
Jaw and facial tension is invisible in the mirror but shows clearly in photos. When you're nervous about being photographed, tension builds in the masseter (jaw), frontalis (forehead), and orbicularis oculi — the very muscles involved in a natural smile. Tension prevents these muscles from moving freely and produces the stiff, effortful look that makes people dislike their photos.
The fastest reset: take a slow breath in through your nose, then exhale slowly and fully through your mouth. As you exhale, consciously drop your jaw and let your facial muscles go slack. Then smile into the relaxed state. The result is noticeably softer and more natural than a smile produced from a tense baseline.
This technique takes about three seconds. It's used by portrait photographers with clients who are uncomfortable in front of cameras, and it works consistently.
Get the Lighting Right
Lighting is the most underestimated factor in photo quality. Overhead lighting — the default in most indoor situations — creates hard shadows under the eyes, nose, and corners of the mouth. These shadows suppress the visual impact of a smile and make the face look tired regardless of expression.
For natural photos, face a window during daylight hours. The diffused natural light fills in shadows, reveals facial geometry evenly, and makes every expression look cleaner and more dimensional. If you're indoors without access to natural light, position yourself facing any light source at eye level rather than above.
For Smile Tracker analysis: even frontal lighting significantly improves the accuracy with which MediaPipe can detect your facial landmarks. Shadows across the eye area or mouth corners reduce detection precision and can artificially lower your score.
Take More Shots Than You Think You Need
Professional photographers take hundreds of shots to find ten that are usable. The ratio for natural smiles is similar — most people need eight to twelve shots to capture one where the expression, eyes, and timing all align perfectly. Giving yourself that latitude changes the entire dynamic of being photographed.
When you know you're taking twelve shots instead of three, the pressure to 'get it right' on each one drops significantly — and paradoxically, that reduced pressure produces more natural expressions. Take rapid-fire bursts rather than single deliberate shots and review the results.
Upload several of your best shots to Smile Tracker and compare scores. You'll quickly learn which moments and expressions photograph best for your specific face — and what small adjustments produce the biggest score improvements. If looking younger is also a goal, these same techniques directly affect how old you appear on camera.
Frequently Asked Questions
Why do I always look awkward smiling in photos?
The most common cause is the brain switching to 'performance mode' when a camera appears — activating only the voluntary smile pathway and suppressing the natural eye engagement. The result is a technically correct smile that lacks the orbicularis oculi involvement that makes it look genuine. Using a real memory technique triggers the limbic pathway and adds the missing eye engagement automatically.
How do models smile so naturally in photos?
Professional models practice triggering genuine expressions on demand — primarily through the memory and emotional connection technique. They also develop control over the orbicularis oculi (eye squint) through extensive mirror practice. Most importantly, they've developed comfort with the camera through repetition, which reduces the tension that suppresses natural expression.
Should you smile with teeth in photos?
Whether to show teeth is less important than whether your eye engagement is active. A genuine closed-mouth smile with full orbicularis oculi involvement will always look more natural than a wide-toothed smile with neutral eyes. If showing teeth feels natural for you, do it — but focus on the eye engagement first, not the teeth.
How do I relax my face for photos?
A slow exhale through the mouth before smiling is the fastest physical reset for facial tension. For deeper relaxation: close your eyes, roll your jaw slowly left and right, then open with a neutral expression before smiling. This takes about five seconds and physically releases tension in the masseter, frontalis, and orbicularis oculi — the muscles most involved in your smile.
What angle makes you look best smiling in photos?
A direct front-facing angle with the chin slightly forward and very slightly down produces the best results for most people. This position elongates the jawline, opens the eye area, and allows smile muscles to move freely. Camera at eye level or slightly above is ideal — shooting from below the chin creates unflattering jaw and neck shadows even with a perfect smile.
Lena Whitmore
Science Writer · Facial Analysis & Appearance Psychology
Lena covers the science of smiles, facial aging, and AI-powered biometrics. She writes evidence-based guides grounded in peer-reviewed research, with a focus on making appearance science accessible and actionable. All tools on Smile Tracker run locally in your browser — your photo is never uploaded anywhere.
Put it to the test
See your results with AI
Upload a photo and get your personalized Smile Score, smile type, and eye engagement reading — free, private, instant.
Analyze My Smile Free →Advertisement