Why Does My Smile Look Different in Every Photo?
You take ten photos in a row and your smile looks completely different in each one — some natural, some forced, some somewhere in between that you cannot quite identify. This is not a sign that you do not photograph well. It is a predictable consequence of how smiles work biologically, how cameras capture motion, and how lighting interacts with facial structure. Understanding the specific variables that create smile variation in photos gives you direct control over producing consistent results.
Cause 1: Expression Timing and the Single-Frame Problem
A smile is a continuous motion, not a static position. It builds over approximately 0.5–1 second from neutral to peak, holds at peak for a fraction of a second, then relaxes. The camera captures a single frame of this motion — and which frame it captures determines everything.
Photos taken at the beginning of a smile catch the mouth curve starting but the eyes and cheeks not yet engaged — producing the 'starting to smile' look that reads as awkward or stiff. Photos taken at the peak catch all muscles at maximum activation — this is the frame that looks natural. Photos taken during the release catch the smile mid-fade, which can look tired or forced.
The standard single-shot approach to photos is fundamentally incompatible with capturing an expression reliably. Burst mode — taking 5–10 photos per second — gives you the range of the full expression arc and lets you choose the peak frame rather than hoping the single shot lands at the right moment.
Always use burst mode for smiling photos. Choose the frame where your cheeks are at maximum lift and your eyes are at maximum engagement — not the frame where the smile is largest.
Cause 2: Asymmetric Muscle Activation Varies Per Attempt
Most people have mild asymmetry in their smile — one side of the zygomatic major activates slightly more strongly or faster than the other. This asymmetry is normal and typically minor. However, it means that each smile attempt produces a slightly different asymmetry profile depending on how much each side activates that particular time.
When you smile on command repeatedly, you are consciously activating a voluntary motor pathway. Without a genuine emotional stimulus to drive uniform bilateral activation, each attempt recruits the muscles slightly differently. Some attempts activate the stronger side more; others approximate symmetry. This variation explains why some photos look natural and others look crooked.
The fix is emotional rather than mechanical. When genuine feeling drives the smile, the limbic system activates both sides of the zygomatic major more consistently than voluntary attempts. Photos taken in response to something genuinely funny tend to have more symmetric smiles than those taken on command.
Cause 3: Lighting Changes Everything
The same smile can look natural or forced depending purely on the lighting direction. Frontal even lighting — from a window or light source directly facing you — fills shadows evenly across the face and shows maximum definition in cheek lift and eye engagement. Harsh side lighting or overhead-only lighting creates deep shadows that can make an engaged smile look tense, flattened, or asymmetric.
Under-eye shadows deepen with overhead lighting, making the eye area look more tired even when eyes are well-engaged. The shadow under the nose deepens, which can make the upper lip appear shorter. The cheekbone shadow moves in ways that either emphasise or flatten the cheek lift that is a key smile component.
Changing from overhead or harsh side lighting to a frontal window is often enough to make a mediocre smile photo look excellent — not because the smile changed but because the lighting revealed what was already there.
Advertisement
Cause 4: Eye Engagement is Not Always There
The most important variable in whether a smile looks natural or forced is eye engagement — whether the orbicularis oculi has fired and produced cheek lift, lower lid narrowing, and outer eye crinkle. When it fires, the smile reads as genuine regardless of what the mouth is doing. When it does not fire, the smile reads as performed regardless of how wide the mouth is.
Eye engagement does not switch on reliably every time you smile on command. It responds to genuine emotional states — when you actually find something funny, or feel genuinely warm toward someone, or recall a specific happy memory. This is why photos taken mid-laugh consistently look better than photos taken when you are asked to say cheese — the emotional state that produces the laugh also fires the eye muscle.
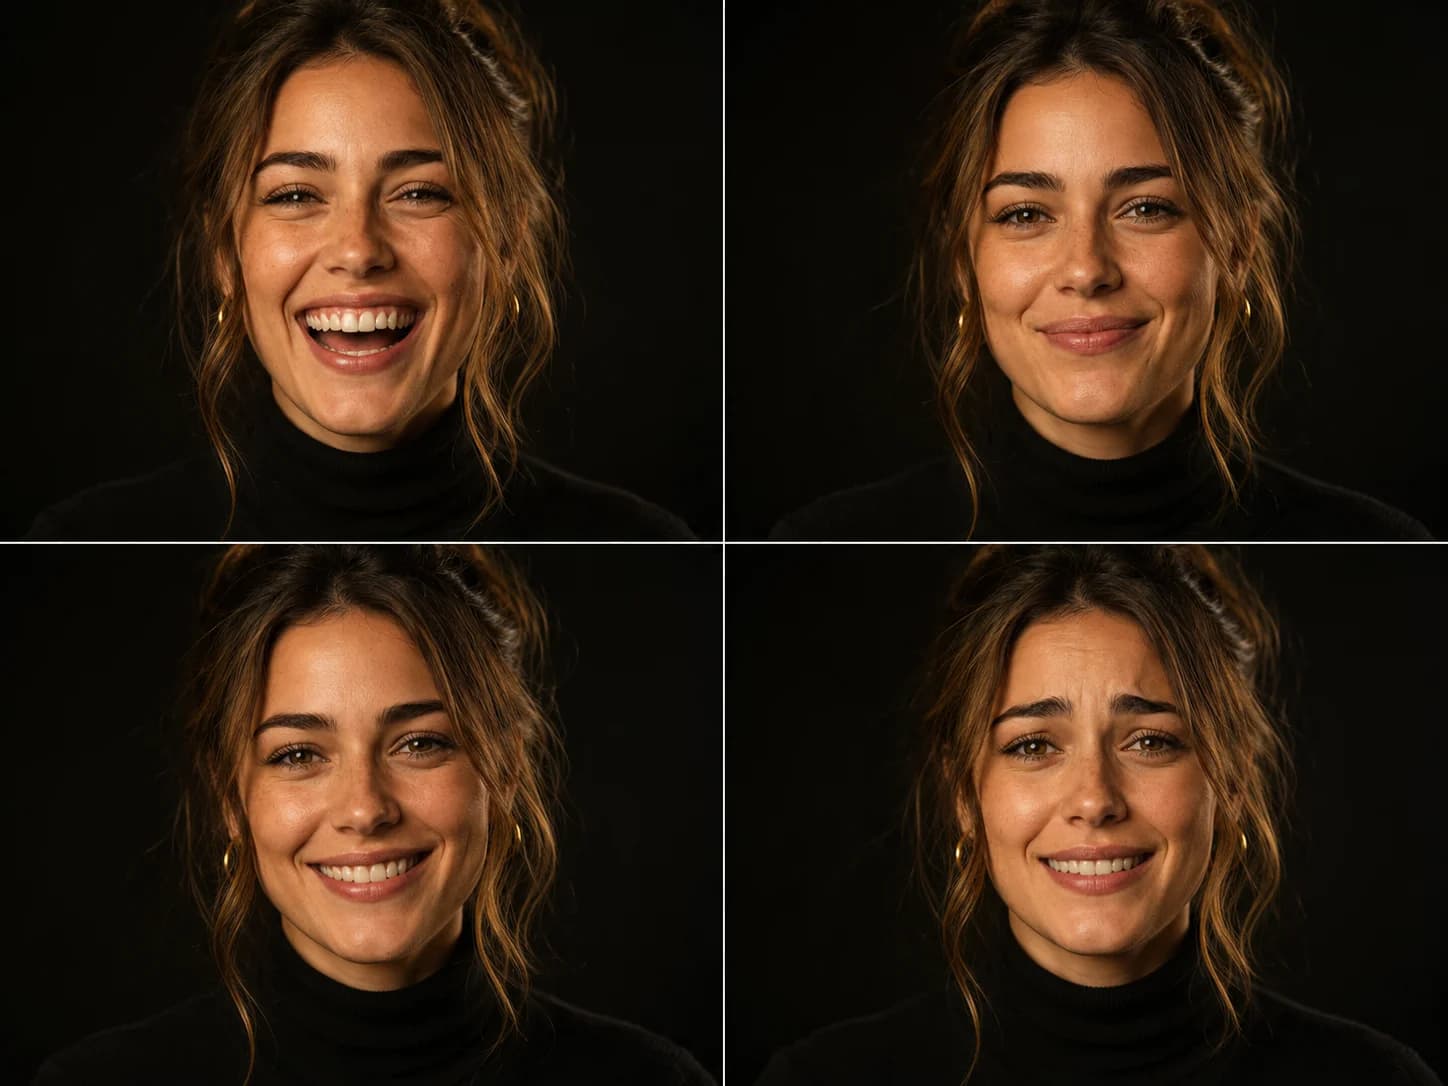
The variation in whether the eyes engage from photo to photo is the largest single cause of why the same face can look completely different across a series of photos taken seconds apart.
How to Get a Consistent Smile in Photos
Three practical changes produce consistent results. First, use burst mode and choose frames — stop relying on single shots and instead capture the full expression arc, then select the peak. Second, establish your emotional baseline before the shutter fires — recall a specific funny memory or connect to genuine warmth in the 2–3 seconds before the photo is taken, rather than producing the expression on command.
Third, control your lighting. Find a window that faces you and position yourself directly in front of it. This single change eliminates the lighting variability that makes the same smile look different depending on where you are standing.
For objective feedback on whether your smile variations are producing different scores on the actual components that matter — mouth curve, cheek lift, eye engagement, and jaw openness — run several different smile photos through the Smile Tracker analyzer. The component breakdown tells you which element is variable and which is consistent, giving you a specific target for improvement.
Frequently Asked Questions
Why does my smile look different in every photo?
Four main reasons: (1) expression timing — cameras capture a single frame of a continuous motion, and which moment is captured changes the whole look; (2) variable eye engagement — the orbicularis oculi (eye muscle) fires inconsistently when smiling on command, producing sometimes-genuine, sometimes-flat eyes; (3) asymmetric muscle activation — voluntary smiles recruit each side slightly differently each attempt; (4) lighting variation — different light directions reveal or conceal the same expression components differently.
How do I get a consistent smile in photos?
Use burst mode and choose the peak expression frame rather than relying on single shots. Let the feeling build before the shutter fires — access genuine warmth or amusement rather than producing the expression on command. Control your lighting with a window directly facing you. These three changes address the three main causes of smile variation and produce significantly more consistent results.
Why do I look better in some photos than others?
Usually one or more of: better lighting (even frontal light vs harsh overhead), better expression timing (peak expression captured vs mid-expression), full eye engagement vs eyes not engaged, better camera angle, or a genuine emotional state at the moment versus a commanded expression. The eye engagement variable is typically the largest differentiator — photos where the orbicularis oculi fires (cheeks raised, lower lids narrowed) look dramatically better than those where it does not.
Lena Whitmore
Science Writer · Facial Analysis & Appearance Psychology
Lena covers the science of smiles, facial aging, and AI-powered biometrics. She writes evidence-based guides grounded in peer-reviewed research, with a focus on making appearance science accessible and actionable. All tools on Smile Tracker run locally in your browser — your photo is never uploaded anywhere.
Put it to the test
See your results with AI
Upload a photo and get your personalized Smile Score, smile type, and eye engagement reading — free, private, instant.
Analyze My Smile Free →Advertisement
Sources